The original nut must be removed prior to the conversion.


Frets are individually heated with a soldering iron and then carefully removed.

After cleaning the
fret slots, maple inlays are glued in using gap filling super glue. These will
be the fret lines.

After the glue dries,
the excess will be trimmed and the fingerboard leveled and radiused.

After trimming, the
fingerboard is initially leveled using a small block planer.

During the next critical step, the neck is carefully evaluated for any dips or sags and then sanded flat.

Radius blocks are then used to radius the fretboard. This guitar is getting a 12" radius.

A quick cleaning with mineral spirits, followed some conditioning with a bit of lemon oil.

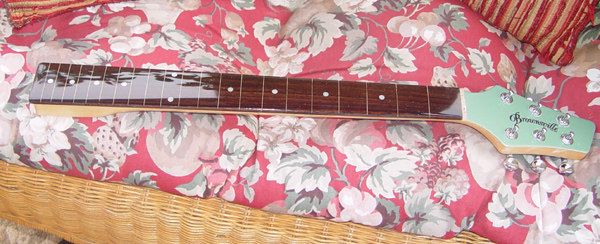
Dead Straight, as verified by my straight edge.

Ready to Rock-n-Roll!!
 Listen to a very short sound sample of me playing this fretless Listen to a very short sound sample of me playing this fretless

You will also note that it now has new pickups. The stock pickups were replaced with 3 DiMarzio humbucker.The guitar will be play tested before application of epoxy.

Pictures following buffing out the Epoxy

|